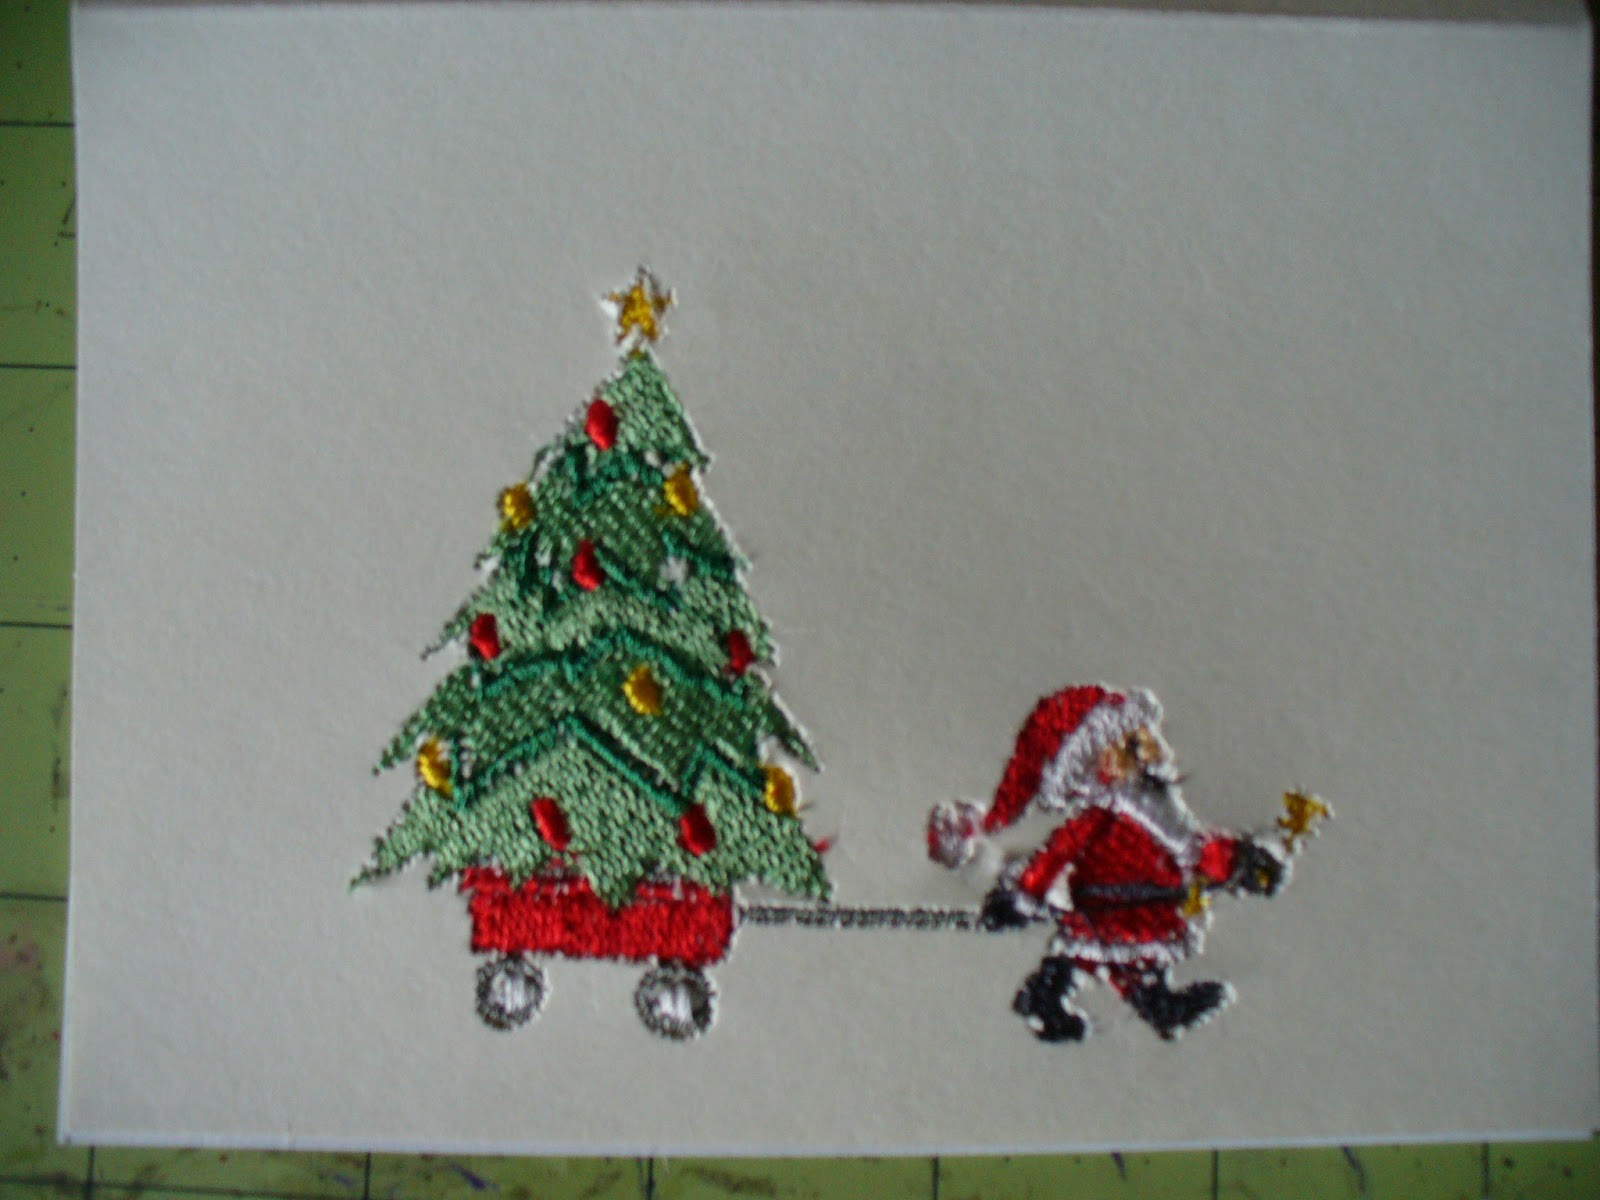

I recently gifted a friend with several Christmas machine embroidered cards. I used my Brother SE 350 embroidery/sewing machine. I bought the cards at Michaels to be used as bases. I do think better high quality cardstock with longer fibers, would have been a better choice, but I'm happy that what I did worked out.
Supplies:
4" x 5.5" cards that fit within my 4" x 4" embroidery hoop
Polymesh cut away embroidery stabilizer
505 Spray and Fix
Embroidery machine and hoop
Machine embroidery thread
Digital designs
Use designs that are more open and not thickly stitched with fill for best results. There are designs online that have been digitized specifically for cardstock. Quick stitch designs are good for this. The one color redwork designs, with a low stitch count sew up really fast.
Hoop the stabilizer firmly and spray 505 inside where the stitching is planned. Press the inside flap of the card onto the stablizer.


Embroider the design using a size 11 or smaller sharp needle. The higher quality cardstock won't rip or tear, but the pack of cards I sewed, worked. The needle did cut through the cards, but I noticed that designs with less fill and coverage work best.
Following the embroidery, remove the stabilizer from the hoop and trim the excess away from the card.


To prevent the card's design from popping out and from showing the back of the design, cover the inside of the card with decorative printed paper.

4 comments:
WoW So fabulous and unique.. Just wonderful R Howard
WOW so unique and pretty!!
Cheers
Dr Sonia
wow, they are beautiful!
I'm in LOVE!!
Thanks so much for sharing this at The DIY Dreamer... From Dream To Reality!
Post a Comment