Saturday, February 23, 2013

Waterfall Cards


Once a week for several weeks, I've been meeting with my friend Diane for lunch and crafting. I love having someone to enjoy my hobby with. I'll miss her in April when she returns north for 6 months.

At a recent crafting session we learned to make waterfall cards by watching a terrific online YouTube video. You can watch it at http://www.youtube.com/watch?v=x__kVGyq0og and make your own version.

Diane's lovely card is designed with the seashore in mind. Her work is very detailed.
My card uses an Asian theme. It's not as detailed, but leans heavily on the black and white color scheme.

There are numerous ways to create beautiful cards with this simple card design.

I would like to thank Karen at www.stampingvideos.com for her wonderful video and detailed instructions.
You can download a reference guide from her blog.


Friday, February 15, 2013

Violet Flowerpot Card


 I recently took a workshop at the Gingham Buttons 2 Scrapbook Store and made new cards using honeycomb paper. I also used a new and wonderful technique to color in my stamped images, which was suggested by another workshop attendee. The colors blend so soft and the look is lovely.

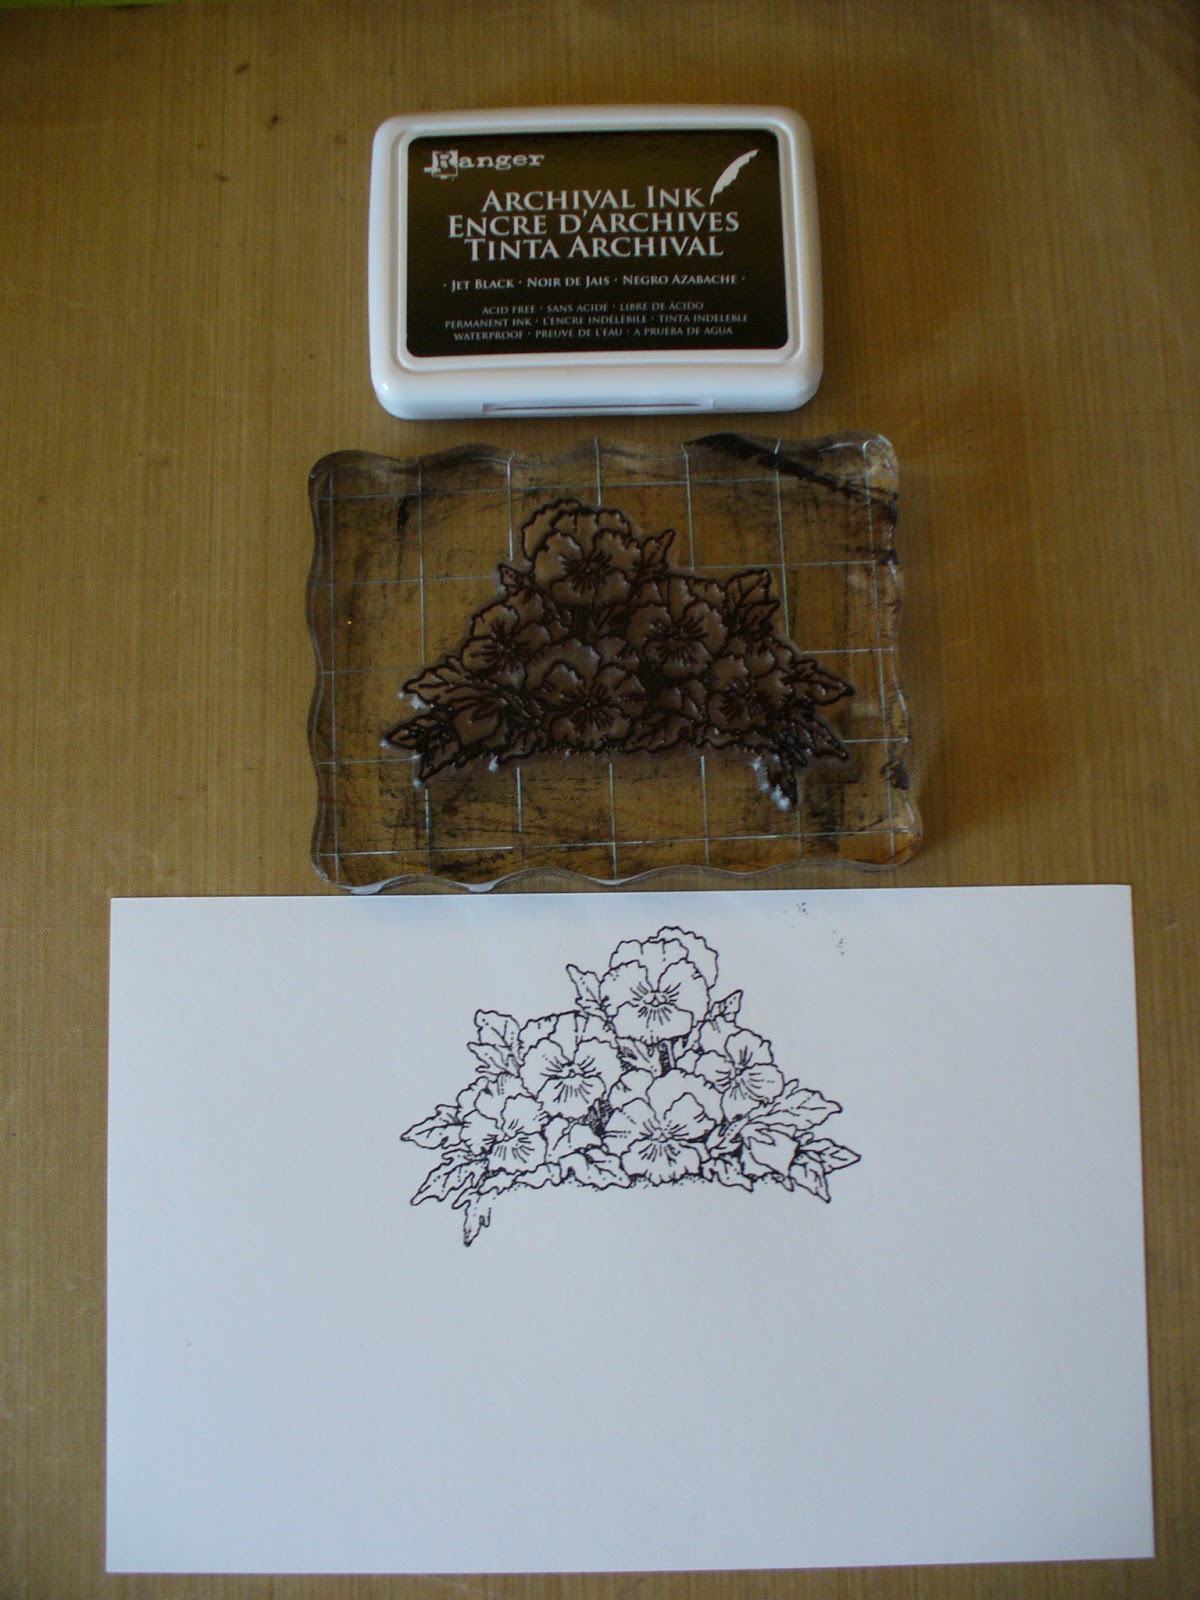
This card was made with an Inky Antics clear stamp set #11105MC Potted Violets.

I achieved a blended result in my work with rubber stamps without expensive materials. I used mineral spirits or gumsol, which breaks down the pencil color and a blending stump (a blending stump or tortillon is a cylindrical drawing tool, tapered at the end and made of rolled paper) distributes the color throughout the image. The technique gives a professional finish to my project.

Here are some photos illustrating the making of this card:


Some supplies I used for this new and fun to make card.


Print floral design on the inside of A2 size cardstock unflolded.
Print same floral design on scrap cardstock.


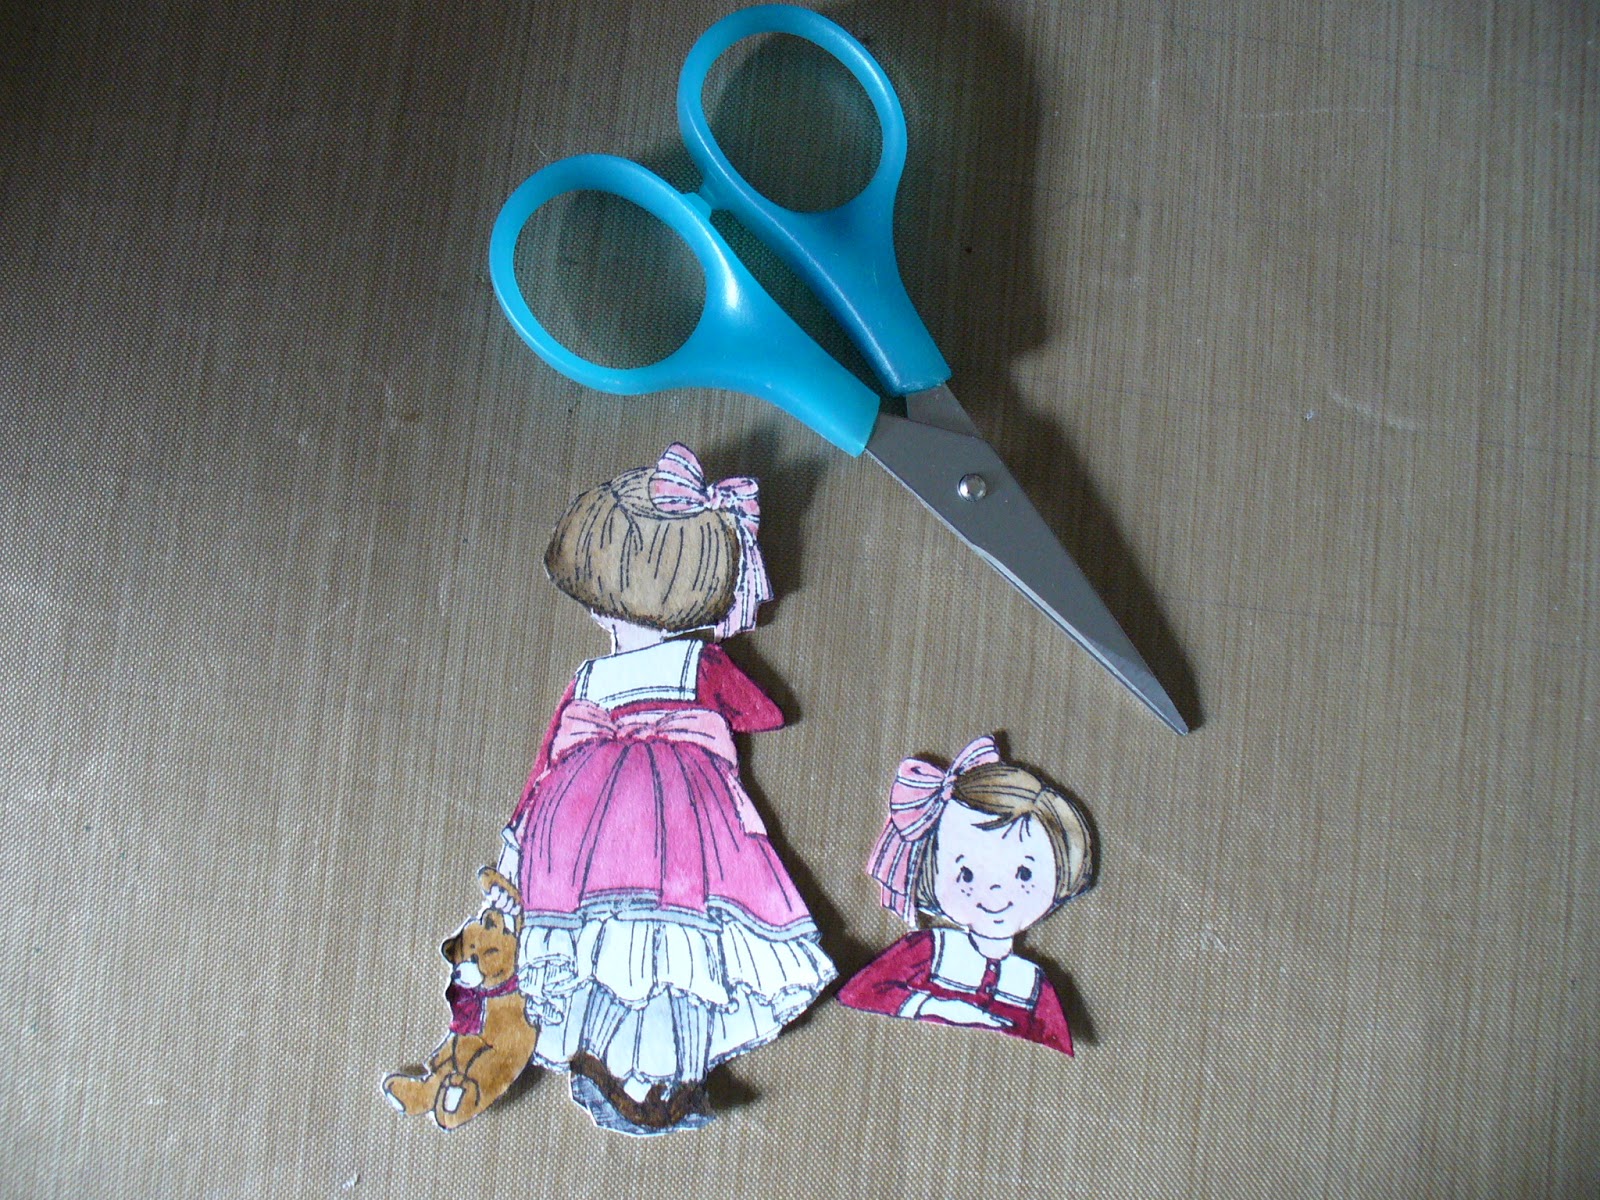
Color each print with woodless colored pencils.


Blend colors with Gumsol using blending stump.
Cut out scrap floral design image.

Print flower pot.


Shade flower pot and blend color.

Adhere floral design to pot (use foam dimensionals to create depth on the card) and then adhere to contrasting color cardstock as a base.

Add glue glitter to flower centers.

Trace and cut honeycomb pad in pot shape

Add two sided tape.

Center pot below floral in center inside at fold.
Adhere on both sides of the honeycomb flower pot.

For complete instructions and step-by-step photos of the honeycomb technique check www.inkyantics.com/honeypop.htm.

Gingham Buttons 2 is located at 5 Utility Drive #21 in Palm Coast, Fl. There are always tons of lovely supplies to check through! For information on upcoming workshops call Debbie at 386 446-5825.


Friday, February 8, 2013

Annie Looks Out the Window Card

 The Front-N-Back stamp set from Art Impressions are just so much fun to work with. I used several of their stamps to complete this adorable card.

Stamp Annie UMT 1518 with Ranger Archival Ink on 140 lb. cold press water color paper.


Color Annie with Tombow Markers and watercolor brush.
Cut Annie out and glue two pieces together.
Stamp templates of both UMQ1502 and UMP1503 on scrap card stock.
Use template and pencil to decide where the placement of the front window should be on an A2 card and make guidelines for the stamp.
Print front window stamp according to guidelines.
Print inside window stamp on separate card stock.


Color and cut out the front window opening.
Color and cut out the inside window.


Glue inside window to inside of card, opposite front window.


Glue Annie looking out the inside window.


Here she is looking out at you from her window!


Add grass at the bottom of the outside window with stamp from the UM 3521 set.

Friday, February 1, 2013

Peter at the Fence Card


Wow Art Impressions Stamps has so much variety. I just got a new little boy Front-N-Backs stamp set UMQ1524). You can work with Peter just the same way as I did with his sister Becky (UMT1519) in the Magic Garden Card, oh and by the way that card is published in Just cards 3D, which is on page 107! Now, I have a fence (UMP 1499) that either of the children can look over!
Here are the steps

Use Stazon Ink to print the front and back of Peter on 140 lb. cold press watercolor paper. I colored Peter using Tom Bow Markers and a water brush.
Cut Peter out and glue Peter's head onto his reverse side body.
Using the Stazon Ink again stamp the fence onto the front side of an A2 card slightly above the bottom edge.
Cut directly across the top of the fence and then up to the top along the fold. You will be trimming away a rectangle. Stamp the fence on the reverse side trying to stay neatly at the cut edge.
Use marker and watercolor brush to color the fence on both sides. If white is showing a bit at the top of the fence, fill in with green marker. Using green maker on the small grass stamp from stamp set UM 3521 fill in grass at the bottom of the fence on both sides of the card.


Measuring to see how high or low to stamp a flower pot, I stamped a sample flower pt on scrap paper and cut it out. It was stamped on the inside across from the fence using the stamp set UM3521. The top of the flower pot looks like a bush showing above the fence when the card is closed.


Because Peter is kneeling on a chair and not standing, he just peeks over the fence!

Inside the Card